Build your own sauna
It’s Easier Than You Think to Build Your Own Sauna – The Basics, Part Two.
In the first part of How to Build Your Own Sauna, we looked at choosing a location and getting it ready by installing any necessary plumbing or electrical connections. You are now ready to build the actual sauna.
Table of Contents
Framework and Insulation
If there is no existing framework, you will have to install it yourself. The framework can be made from 2 x 4 or 2 x 6 lumber, spaced every 16 inches.
The room needs to be insulated once the framing is in place. Insulation is placed between the framework studs in both the walls and the ceiling. You want to keep the heat in the room and save energy.
The insulation is covered with a vapor barrier to prevent moisture build-up in the insulation. If you are building indoors, the vapor barrier will also keep the moisture from affecting the rest of your house. In addition, this type of barrier also protects your walls from absorbing steam from the heater.
When you install the vapor barrier, the steam will exit through the ventilation system, or it will be absorbed by the wooden materials inside the sauna. A certain amount of vapor will also dry out once you stop using your sauna.
Foil vapor barriers are common because they can also help reflect heat back into the sauna. Foil is an excellent material for this purpose. It never melts and doesn’t produce a scent once exposed to heat. Another thing you can do is cover all the joints with aluminum tape.
Walls
Now it’s time to start building the walls. If you use tongue-and-groove lumber, you will avoid exposed metal nails in the sauna. Exposed nails can burn the skin in the high heat of the sauna. Saunas in Finland are often constructed with Nordic white spruce. Cedar is another good choice.
The wooden planks go over the insulation and the foil vapor barriers. Begin at the floor and start nailing the lumber to the studs in the framework. Always start from the lower parts of the wooden planks and work your way up towards the ceiling.
When you come across a light switch or an electrical junction box, make sure to cut a hole inside the wooden plank beforehand, which should go around the object perfectly. For this reason, you should choose a soft wood such as cedar that you can cut and shape with ease.
It’s up to you to decide whether you will install the wooden planks vertically or horizontally. However, keep in mind that horizontal paneling is most commonly used in the sauna construction process simply because it’s easier and more convenient to build.
Angle the nails through the tongue portion of the wood so that they are hidden. Try to use boards that run the entire length of each wall. If you have one person cutting the wood and another person installing it, work will move a lot faster.
Continue adding rows of lumber, and every few rows, check to be sure that they are still level. After each wall is constructed this way, the ceiling can be finished off.
The walls of the sauna should be at least 2.2 meters tall (approximately 77 inches). There should also be around 5cm (about 2 inches) between the wall and the sauna, leaving enough room for cables and wires. A sauna of this size should be large enough to fit at least four people.
Doors
Once you finish assembling the walls of your sauna, it’s time to install the door.
Sauna doors are notorious for warping problems due to the constantly changing heat and moisture in a sauna. The easiest thing is to install a pre-hung door designed for saunas rather than trying to build and hang one yourself. Molding will give it a finished look.
The best wooden material you can use for your door is cedar due to its ability to absorb moisture. Moreover, cedar will extend the door’s longevity without the risk of warping due to heat. Some saunas have all-glass doors, which are ideal for capturing light. However, if you prefer to have some privacy, you should go with a wooden door.
In addition, keep in mind that the sauna door should open outwards. Some pre-built sauna doors come with small windows. Your choice will ultimately depend on personal preference, although it’s usually recommended that you install a door with a small window.
The dimensions of your sauna’s door should be determined by the size of your sauna. The standard size of a sauna door is 24 x 82 inches, along with the door frame.
Sauna Benches
After this, the benches can be installed. You can build your own, or you can buy benches from a sauna dealer (check online). Make sure there are no nails or exposed metal parts in your benches to burn you.
There are plenty of wooden materials you can use for your sauna bench. When choosing the wood for sauna construction, make sure you select a material that doesn’t overheat and responds well to moisture. In addition, look for wooden planks that will not splinter or produce any resin.
While cedar is the most popular option for sauna benches due to its durability and low density, other wooden materials can meet your sauna’s requirements. Magnolia, aspen, spruce, pine, ash, alder, and poplar are just some of the options to go with for a sauna bench.
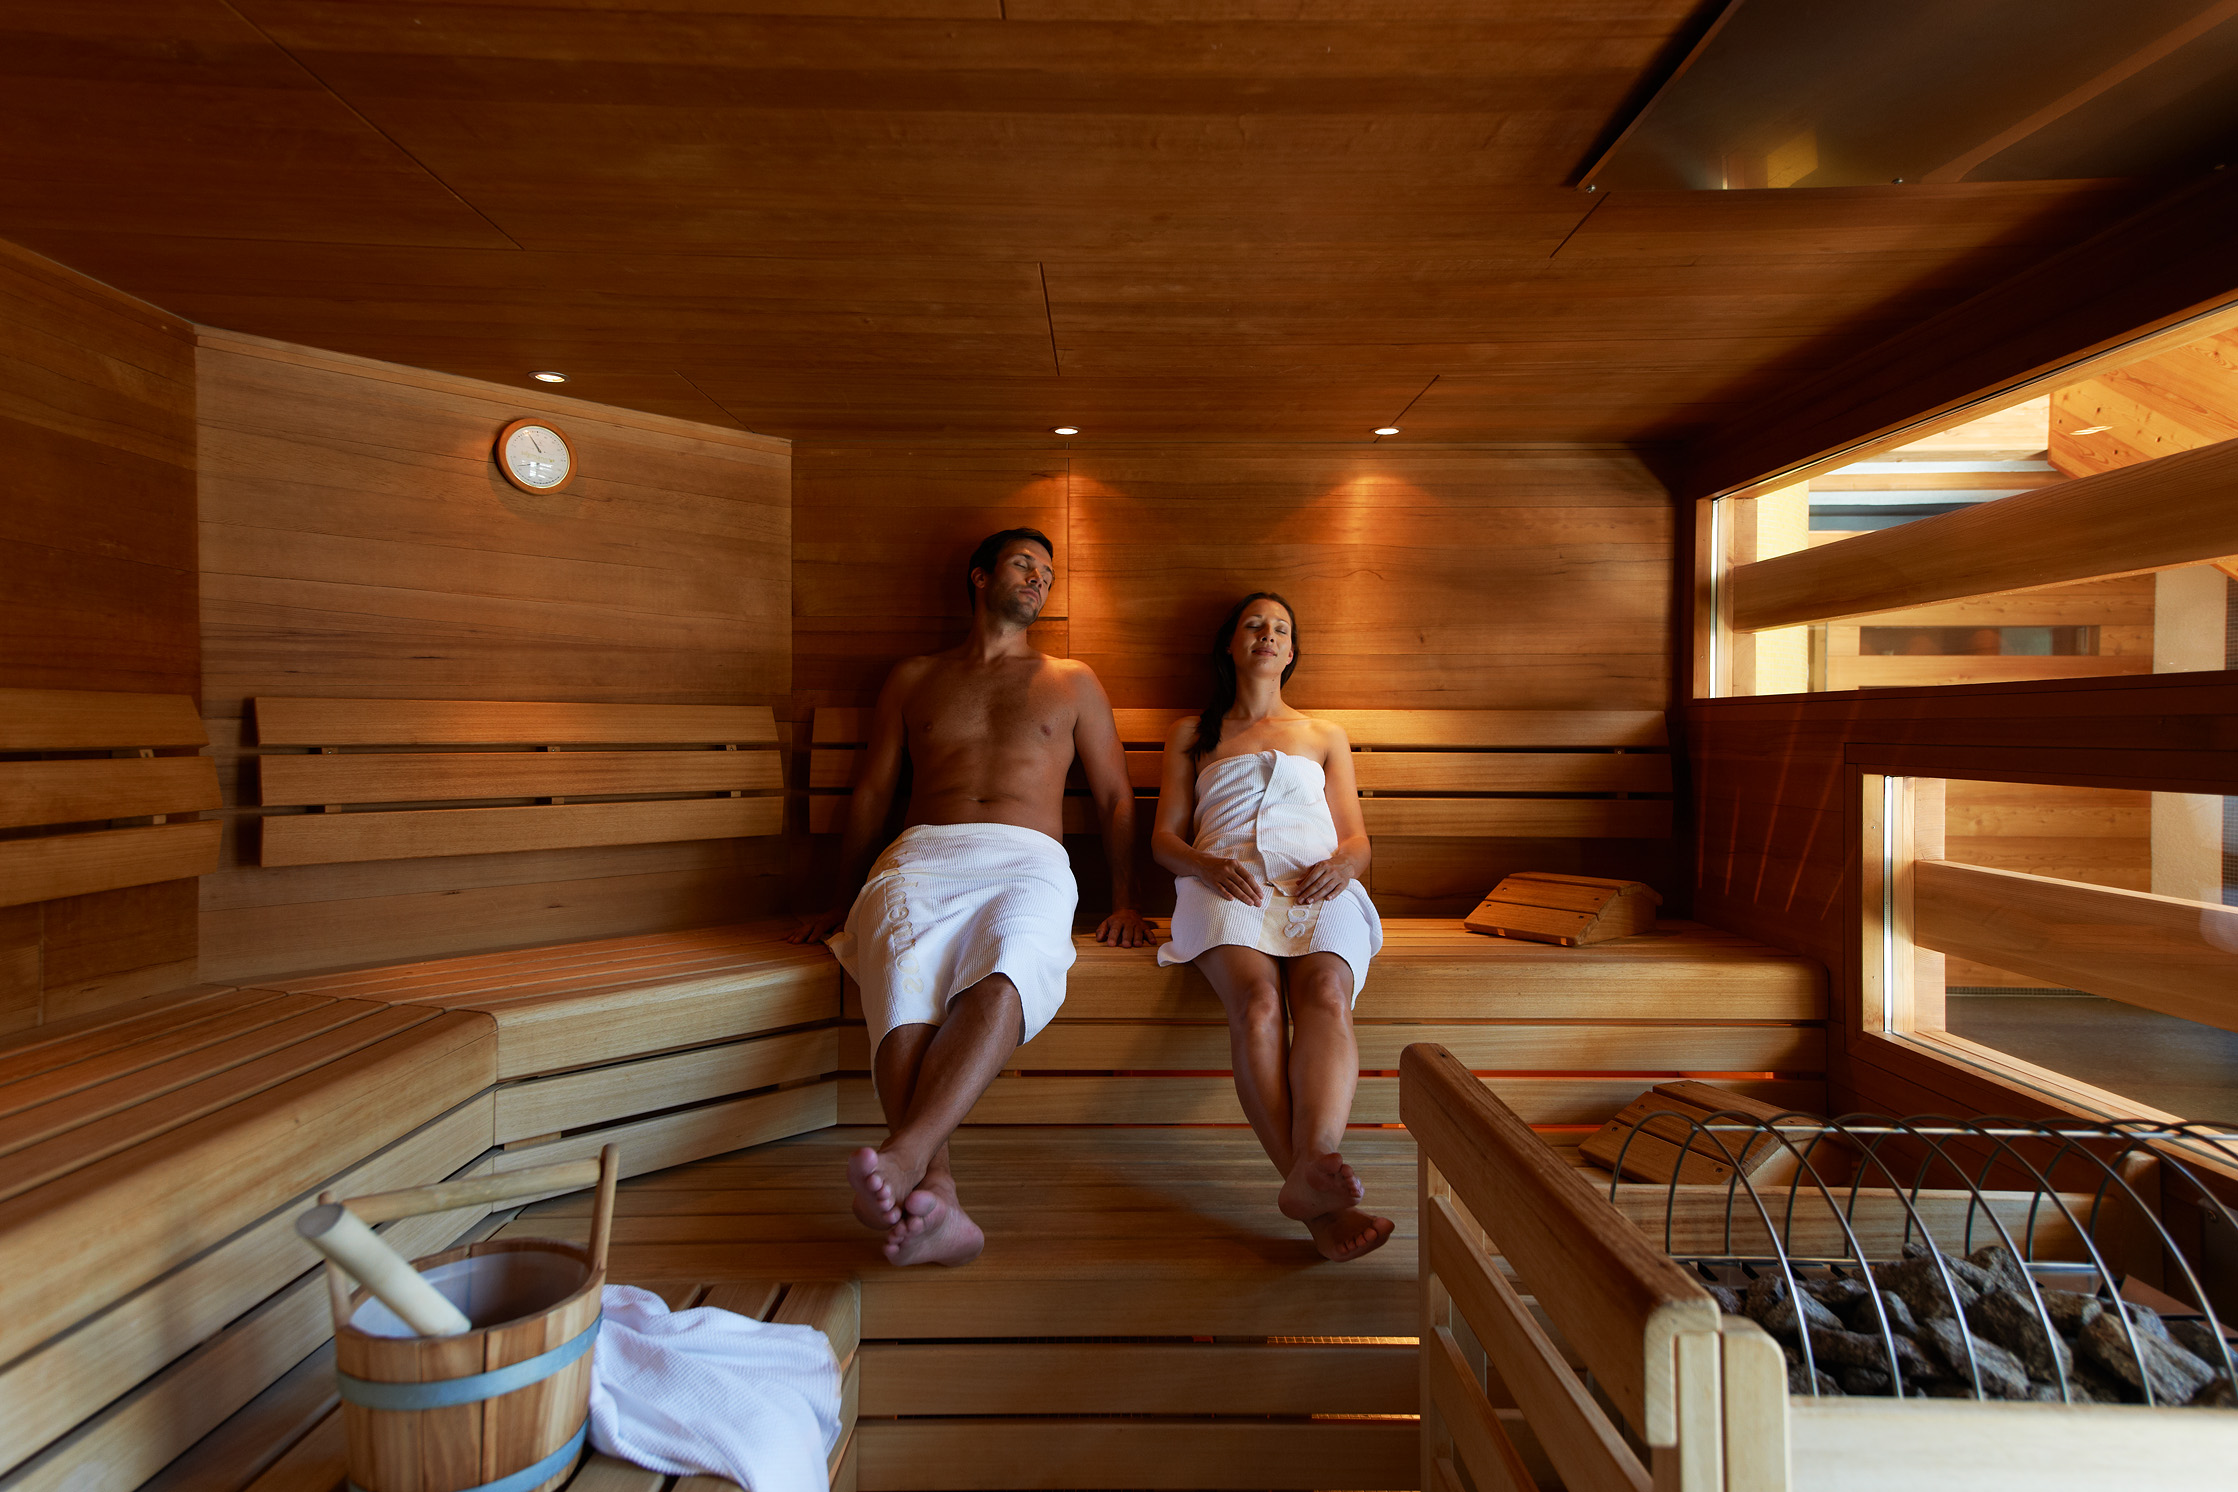
It’s up to you to decide how many platforms you will build inside your sauna, but there are usually at least two sauna bench levels. The lower bench should be around 18 inches off the ground, while the second level needs to be at least 36 inches high.
Also, there should be at least 42 inches of headroom above the top platform so that you have enough room to sit without your head bumping the ceiling. The wooden framework should consist of 1 x 4 planks over a 2 x 4 frame, with additional cross members.
There are also various bench designs, which should be consistent with the seating layout and the overall size of your sauna. Sauna benches are usually built along the length of the wall since it’s easier to set it up that way. Another popular design is the L-shaped bench, which goes along two adjacent walls.
Floors
Once all the woodwork is finished, you can install a ceramic floor. This is a matter of gluing ceramic tiles to the subfloor and filling the spaces in between with grout. Again, be sure to allow time for the ceramic cement to dry before applying the grout.
When the ceramic work is finished, you need to build wooden flooring panels called “duckboards” to place over the ceramic floor. They need to be removable so that you can clean them and the floor. Duckboards help avoid excessive heat and moisture on the floor.
Whether you cover the entire floor with duckboards is up to you, as some people prefer only to cover the entryway. However, even though it will take you more time, we highly recommend paneling the whole floor of the sauna with cedar planks.
Since duckboards can absorb heat and moisture, it’s a much safer option. The chances of slipping are much greater if you only cover the floor with ceramic tiles. Moreover, once the entire sauna is overlaid with cedar, it will produce a natural, enjoyable scent.
Sauna Heaters and Sauna Stones
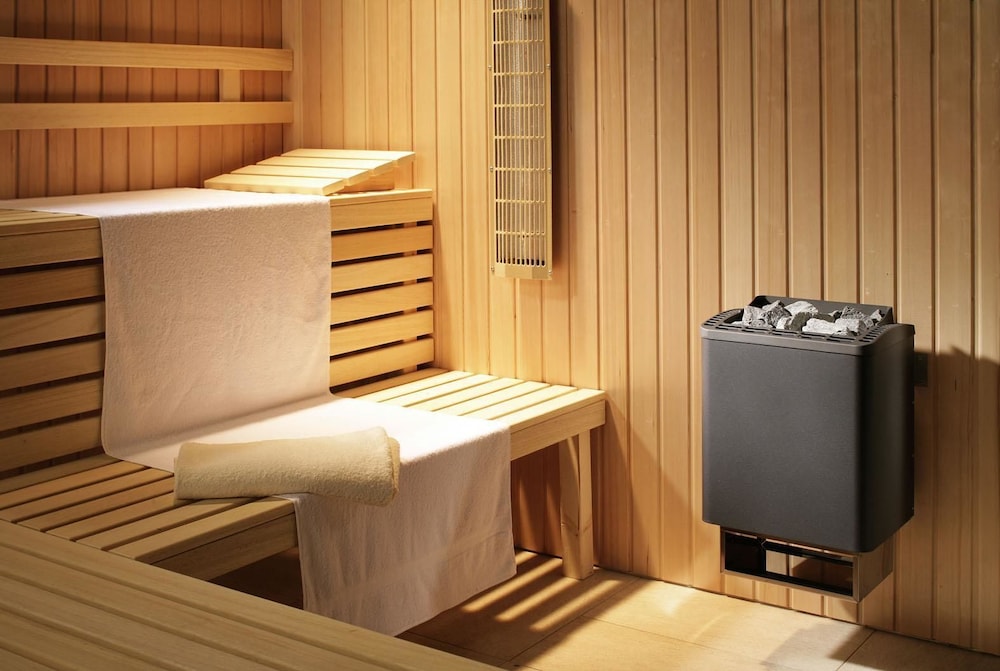
With all the interior work finished, the sauna heater can be installed. Your sauna heater needs to be powerful enough to warm up the entire sauna.
There are different types of heaters you can choose for your sauna. The most common type is an electric sauna heater. It’s best to hire an electrician to connect your heater to the power supply. The way it works is that electricity travels through the heater and warms up the sauna stones. Electric heaters are suitable for all types of saunas.
You can also install a wood-fired heater, or a wood stove, in your sauna. Warming your sauna with a wood stove is much more traditional since it produces unique wood-burning sounds and smells that other heaters can’t duplicate. Since a wood stove needs a smoke outlet, it is best suited for small outdoor saunas. Even though burned wood is used to emit heat, adding sauna stones on top of your wood stove will help spread the heat through the whole sauna evenly.
A modernized version of a sauna heater is the infrared heater. With a maximum temperature between 40°-60°C, it doesn’t produce steam but radiation heating. Therefore, it doesn’t warm up the air temperature but the body itself. Since infrared sauna heaters are smaller than electric heaters and wood stoves, they are usually more affordable.
The type of sauna heater you end up choosing should depend on your preferences and budget, as well as on the size of your sauna.
There are also different types of stones you can use for your sauna heater. The sauna stones should be able to absorb the heat and spread it in equal amounts. Choosing the wrong type of stones for your sauna could result in them exploding once they are exposed to heat.
The best types of stones to use are so-called igneous rocks, otherwise known as volcanic rocks. Volcanic rocks you can use for your sauna heaters include olivine diabase, peridotite, vulcanite rocks, basalt, granite, gabbro, and many more options.
Sauna rocks should be about the same size as your palm, and you should arrange them in a way that fills up the entire heater. However, they shouldn’t be too cramped so that air can travel between them. It’s also recommended that you wash the sauna stones before you use them. Finally, you should pour water onto the rocks when you turn on the sauna heater if you want more steam.
The ideal temperature for a sauna depends on your personal preference, but it’s best to keep it between 150°-175° Fahrenheit.
It goes without saying that you need a sauna thermostat to adjust the temperature to your liking. With the right sauna thermostat, you should be able to control the lighting and the air ventilation. It should also come with a safety switch.
Other Details
After you have finished setting up the sauna heater, it’s time to install the lighting. This is where you can get really creative. Of course, you can always install the lights on the ceiling, just like you would with any standard room. Or, you can place it behind the backrests, on the side of the sauna benches, or even on the floor.
Since the time spent in a sauna should be relaxing, there shouldn’t be too much light inside. Instead, use soft lighting that will generate a soothing atmosphere. You can use LED lights or fiber optic lights for your sauna.
It’s also vital for your sauna to contain an air ventilation system. A good air ventilation system will enhance heat circulation, making it possible for you to stay inside the sauna for a longer period.
Let’s not forget that you need to let your sauna breathe every time you finish using it.
You will also want to panel the exterior walls of the sauna and arrange a changing area outside the entrance. Adding a changing room is optional, but every sauna usually comes with one.
Enjoy Your Sauna
And you have built your own sauna! Turn the heat on and let it warm up for about ½ hour while you get ready to enjoy it.
It’s generally advised to take a quick shower before and after you use the sauna. If you stay in a sauna for too long, you might risk dehydration. Therefore, the ideal time to spend in a sauna is between 15 and 20 minutes. However, if it’s your first time using the sauna, it’s best not to spend more than 10 minutes in there.
While you’re in the sauna, you can adjust the temperature (if you have an electric or infrared heater) to your needs. Then, all that’s left is to sit back and relax!


